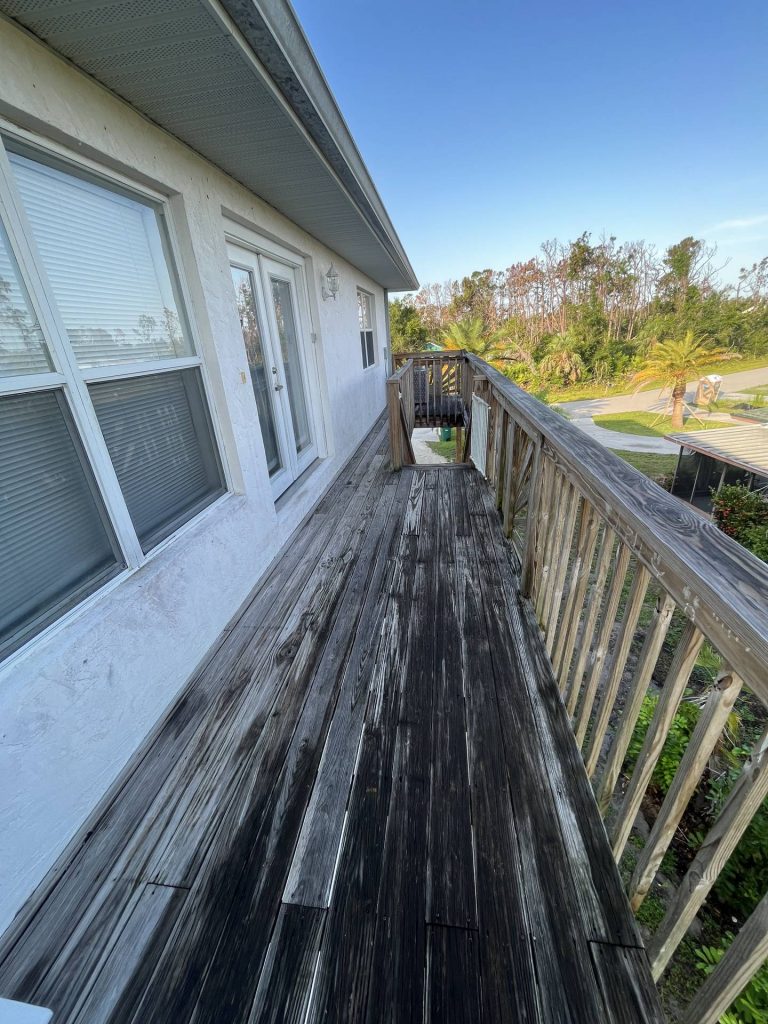
Florida’s diverse range of home styles, from charming beachfront cottages to elegant Mediterranean villas, is a testament to its rich architectural heritage. When it comes to painting your Florida home, it’s important to consider the unique character and climate of the Sunshine State. In this article, we’ll explore some painting trends that align with Florida’s distinct home styles and offer tips for achieving a harmonious coastal connection.
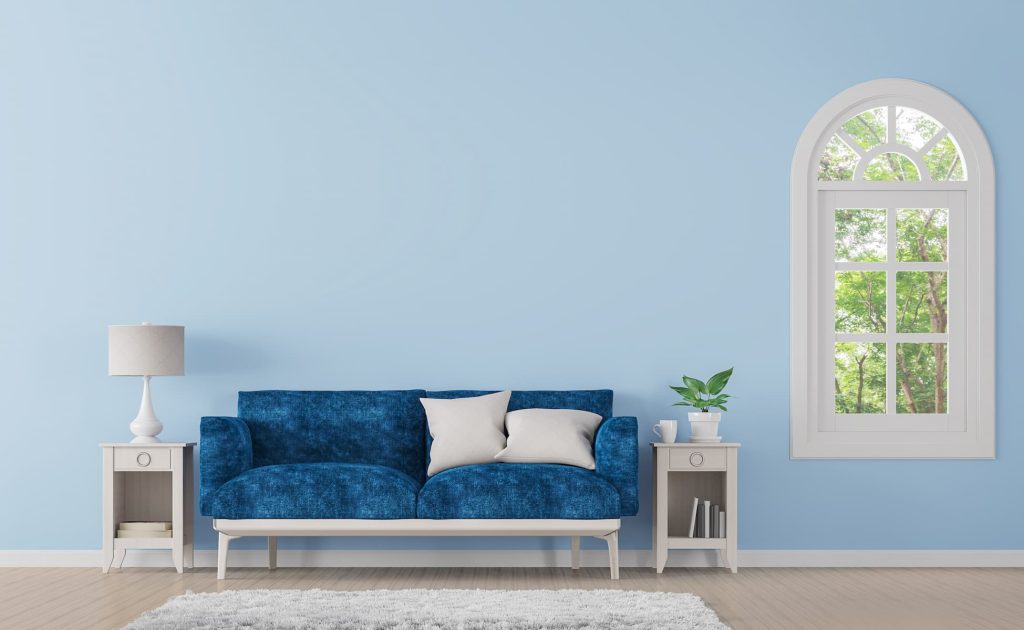
1. Coastal Chic for Beachfront Retreats: If you’re fortunate enough to own a beachfront property, consider embracing coastal chic color palettes for your home. Soft blues, pale aquas, and sandy beiges are perfect choices that reflect the nearby ocean while creating a serene and inviting atmosphere. Incorporating natural textures like whitewashed wood or seashell-inspired decor can further enhance the coastal vibe.
2. Mediterranean Elegance for Spanish-Style Homes: Florida boasts numerous Spanish-style homes with their distinctive architecture, characterized by stucco exteriors and red-tiled roofs. To complement this style, opt for warm and earthy colors such as terracotta, creamy whites, and deep browns. These hues not only evoke the Mediterranean but also help regulate indoor temperatures in Florida’s warm climate.
3. Modern Neutrals for Contemporary Homes: For those living in modern or contemporary Florida homes, neutral color schemes are a popular choice. Soft grays, cool whites, and subtle beiges provide a clean and sophisticated backdrop, allowing architectural elements and furnishings to take center stage. These shades also help create a sense of spaciousness and tranquility that’s perfect for contemporary living.
Ready to Transform Your Florida Home? Contact Alba Painting for Expert Painting Services.
To bring these painting trends to life in your Florida home and achieve the perfect coastal connection, trust the experts at Alba Painting. Our experienced team specializes in residential painting and understands the unique requirements of Florida’s diverse home styles. Contact us today to discuss your painting project, request a quote, and transform your Florida home into a true coastal gem that reflects your style and the state’s unique charm.
Visit our contact page to get our painting services.