• Skip to primary navigation
  • Skip to main content
  • Skip to footer
Alba Painting, LLC

Alba Painting, LLC

Sterling Heights, MI

  • Home
  • About
  • Services
    • Interior
    • Exterior
    • Commercial
    • Restoration
    • Power Washing
    • Spray Texturing
  • Gallery
  • Blog
  • Get a Free Quote
  • 586-251-6563 (MI)

adminoma

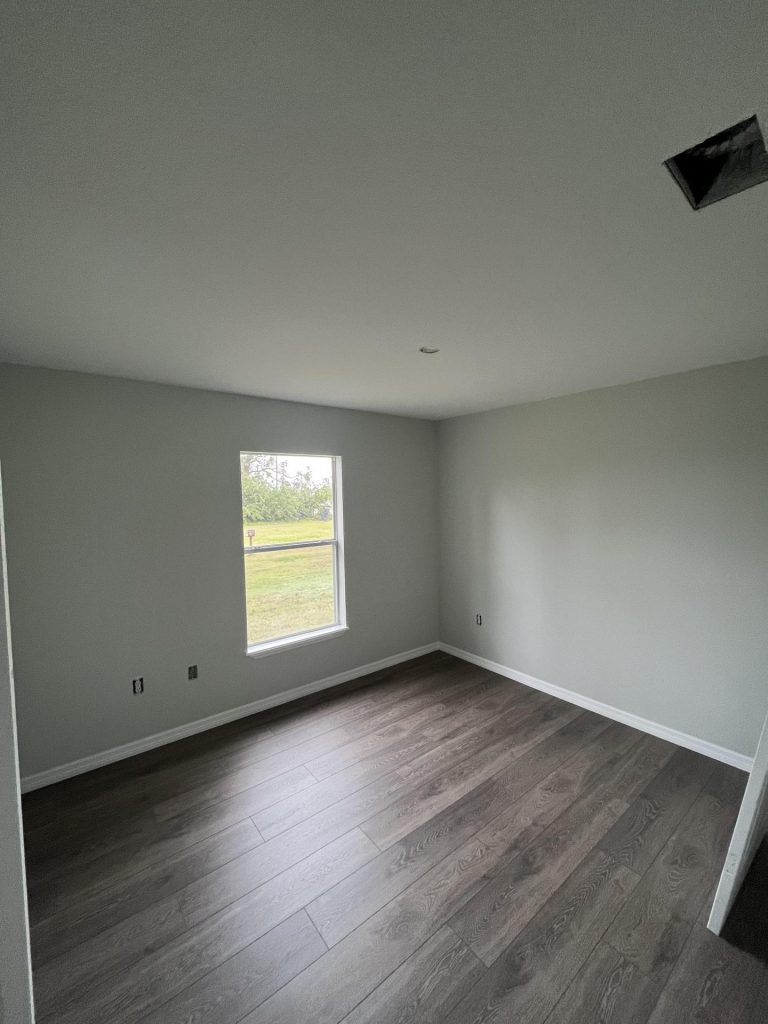
Florida Dream Homes: Choosing the Perfect Paint Colors for Your Space

December 15, 2023

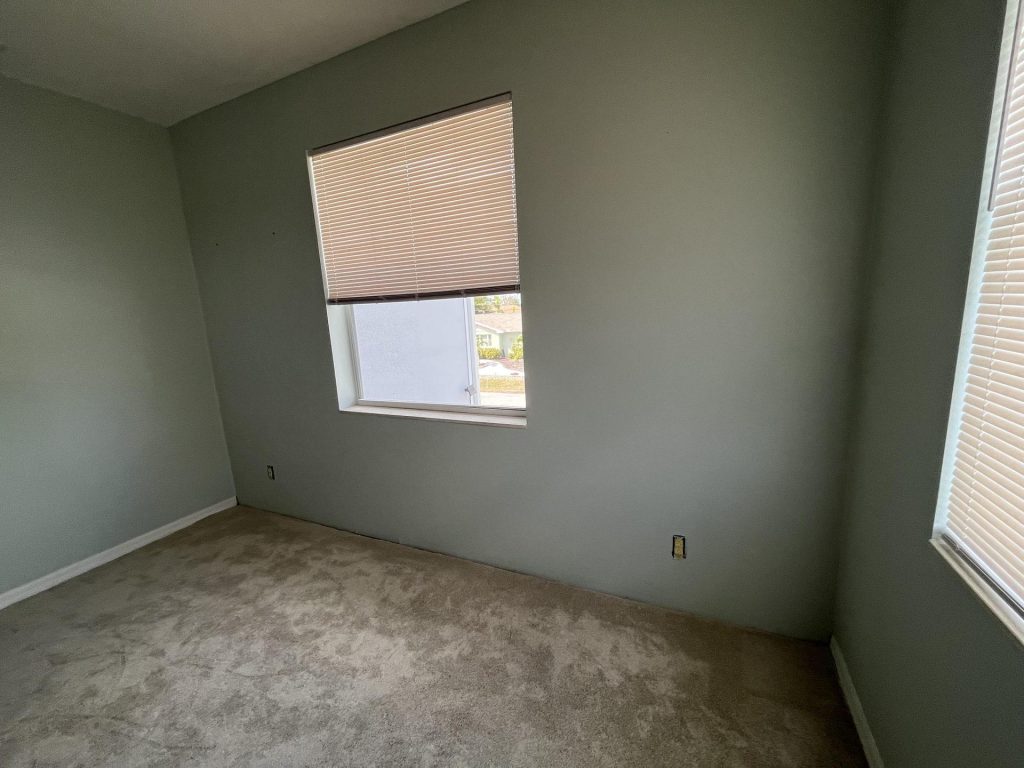
Designing your Florida dream home is an exciting journey, and selecting the right paint colors is a key aspect of bringing your vision to life. Florida’s unique climate, abundant natural beauty, and diverse architectural styles offer an array of possibilities when it comes to choosing paint colors that suit your space. In this article, we’ll explore some expert tips for selecting the perfect paint colors for your Florida home.

1. Embrace Coastal Hues: Given Florida’s stunning coastline, it’s no surprise that coastal color palettes are a popular choice for Florida homes. Soft blues, aqua tones, seafoam greens, and sandy beiges evoke the serenity of the beach and the calming influence of the ocean. These colors are not only visually pleasing but also work exceptionally well with the abundant natural light that Florida offers.

2. Consider Tropical Inspiration: Florida’s lush tropical landscapes can inspire your paint color choices. Vibrant greens, rich earthy tones, and exotic fruit-inspired hues like mango or papaya can infuse your home with a sense of tropical paradise. These colors can be used as accents or for creating focal points in various rooms, bringing the essence of Florida’s exotic flora indoors.

3. Stay Cool with Light Colors: Florida’s warm climate means you’ll want to create a cool and comfortable interior. Light-colored paints, such as whites, pale yellows, and cool grays, can help reflect sunlight and create a breezy atmosphere. These colors can make your living spaces feel more open and spacious, which is especially beneficial in smaller Florida homes or condominiums.

Choosing the perfect paint colors for your Florida home is a delightful part of the design process. By taking inspiration from the coastal surroundings, tropical landscapes, and the need for a cool, comfortable interior, you can transform your space into a Florida dream home that’s both visually appealing and perfectly suited to the state’s unique lifestyle.

Visit our contact page to get our painting services.

Filed Under: News Tagged With: Alba Painting, paint house, painting, Professional Painters

Room Painting Tips

December 5, 2023

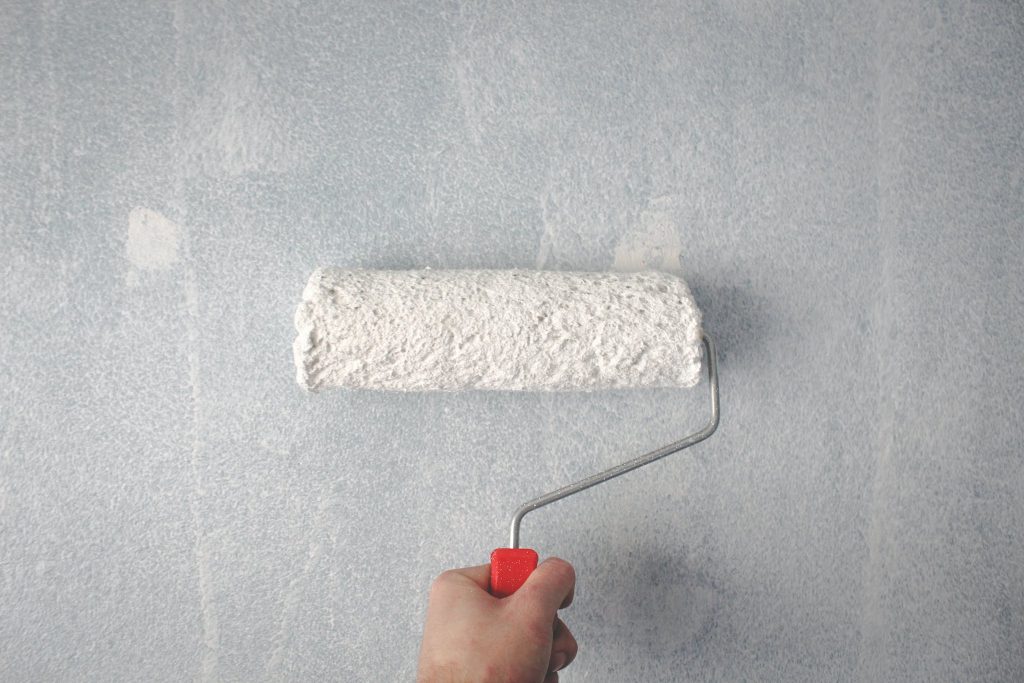
Person Holding Paint Roller On Wall

Applying a fresh coat of paint can breathe new life into any room, and it’s a cost-effective way to transform your space. With the right tools, materials, and a well-planned approach, you can achieve professional-quality results in no time. In this guide, we’ll walk you through the essential steps for painting a room, from preparation to completion. Discover the best order to paint a room and valuable tips to ensure your project’s success.

Step 1: Make Room Before you dive into painting, clear the room as much as possible. Move furniture out or toward the center and cover the items that must stay. This creates a spacious and accessible environment for painting the walls and ceiling. Remove pictures, shelving, and decorative items, and take down any hardware or nails from the walls.

Step 2: Take Cover(s) To prepare further, remove switch plate and outlet covers using a screwdriver and store them in a bowl or bag for safekeeping.

Step 3: Repair the Walls Patch any existing holes or cracks, including unused nail holes. Thoroughly clean walls, baseboards, trim, and window ledges to remove dust, debris, and dirt using a lint-free cloth.

Step 4: Tape Off Carefully apply high-quality painter’s tape around windows, trim, wainscoting, and other surfaces you want to protect from paint splatters or seepage.

Step 5: Protect Your Floors Lay clean canvas drop cloths on the floor to shield it from paint drips and spills. Use plastic sheeting or clean drop cloths to protect any remaining furniture or large items.

Step 6: Paint the Ceiling Turn off the room’s power, carefully remove the light fixture cover, and tape off the base. Start by cutting in the ceiling, brushing along the perimeter of the room. Avoid forcing the roller into corners, as it can lead to an uneven paint buildup on the walls. Painting the ceiling first prevents unwanted splatter on the walls or trim and allows you to use the ceiling fixture for added light. For a more even finish, consider using additional natural and artificial light sources during the painting process.

Step 7: Paint the Walls Begin by cutting in your paint along the ceiling and trim using a brush, then move on to using a roller. Focus on one wall at a time, as this approach prevents boredom and keeps the cut paint wet for easier blending.

Additional Tips: Now that you know the best order to paint a room, here are some additional tips to ensure a successful project:

  1. Invest in high-quality paint and use ceiling paint on the ceilings, as it is thicker and provides better adhesion with less mess.
  2. Allow ample time for the paint to dry before replacing outlet covers, shelving, and artwork.
  3. Take your time to avoid rushing the paint job, as haste can result in visible imperfections.
  4. Consider custom shelving to enhance the look of your freshly painted room.
  5. For professional results with less effort, think about hiring the experts at Five Star Painting to complete your project, leaving you more time for the things you love.

By following these steps and tips, you can achieve a beautifully painted room with minimal stress and maximum satisfaction.

Need help with your interior painting job? Leave it to the pros and schedule an estimate today.

Filed Under: News Tagged With: florida home painting, florida painter, Professional Painters

Bringing Sunshine to Your Walls: Home Painting Tips for Florida Residents

November 30, 2023

Living in the Sunshine State means enjoying beautiful weather and abundant natural light year-round. When it comes to painting your Florida home, you have the opportunity to complement the state’s sunny ambiance with the right color choices and painting techniques. Here are some essential home painting tips tailored to Florida residents to help you create a bright and inviting space that mirrors the state’s natural beauty.

1. Embrace Light and Airy Colors: Florida’s abundant sunshine is a blessing, and you can make the most of it by choosing light and airy colors for your home’s interior. Soft blues, sandy beiges, pale yellows, and crisp whites are all popular choices that reflect the state’s coastal vibe and maximize the feeling of spaciousness. These colors not only enhance natural light but also create a sense of tranquility, perfect for the Florida lifestyle.

2. Consider the Impact of Humidity: Florida’s high humidity levels can affect the longevity and appearance of your paint job. To combat this, opt for high-quality, moisture-resistant paint that can withstand the humid conditions. Additionally, ensure proper ventilation in areas like bathrooms and kitchens to prevent mold and mildew growth. Properly maintaining your painted surfaces can extend their life and keep your home looking its best.

3. Protect Against the Sun: While Florida’s sunshine is a cherished feature, it can also be harsh on your home’s exterior. Choose exterior paint that includes UV protection to prevent fading and damage from the sun’s rays. Regular maintenance and repainting will also help protect your home’s siding and keep it looking fresh and vibrant.

By taking these home painting tips into account, you can create an inviting and sun-soaked space that perfectly suits Florida’s vibrant lifestyle. Whether you’re painting the interior or exterior of your home, the right colors and techniques can make a world of difference in enhancing your living experience in the Sunshine State.

Visit our contact page to get our painting services.
Filed Under: News

How to Clean Walls Before Painting

November 25, 2023

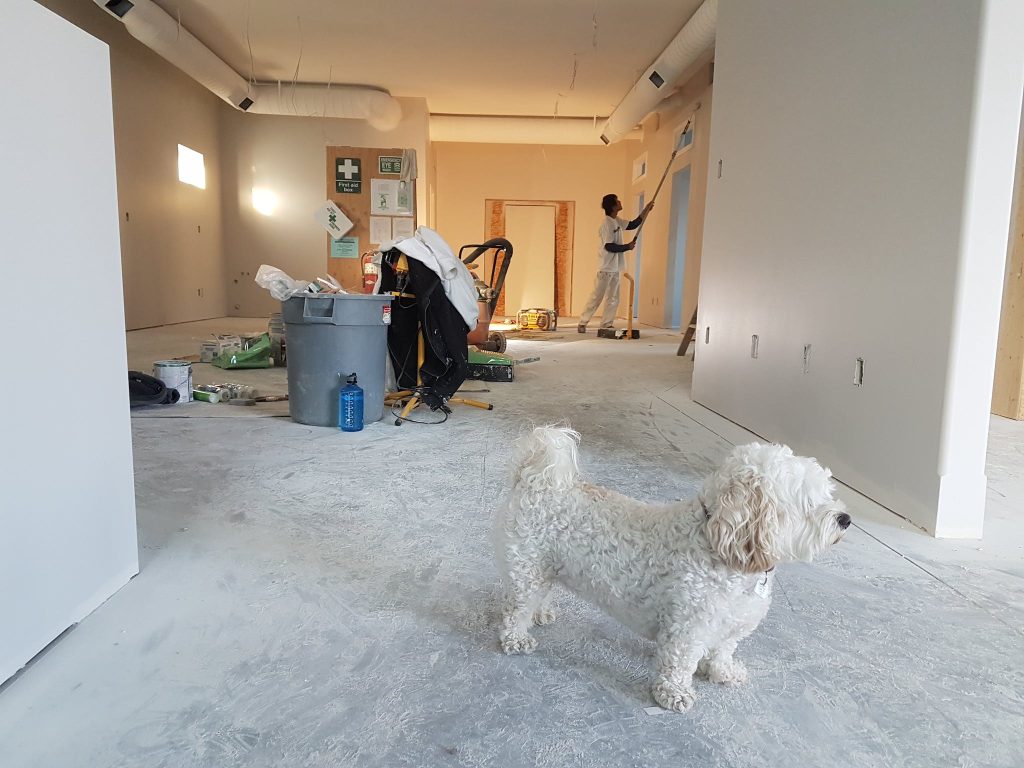
Close-up Photography of White Poodle

If you’ve decided it’s time to infuse new life and color into your kitchen or bathroom, the first step is to give your walls a thorough cleaning. Cleaning your walls before painting might seem like a chore, but it’s an essential step that enhances paint adhesion and ensures a durable and long-lasting finish. The best approach for preparing your walls for painting depends on the condition of the surface. In this guide, we’ll walk you through how to clean your walls effectively before you start your painting project.

How to Clean Walls Before Painting: Cleaning your walls before painting is a crucial task that can make a significant difference in the final result. Here are five tips to help you prepare your walls for a flawless paint job:

  1. Give It a Good Basic Scrub: In many cases, a simple solution of warm water and a sponge is sufficient to make your walls paint-ready. Scrub the wall surface, paying close attention to corners and hard-to-reach areas. To tackle scuffs and smears, add a grease-cutting detergent to the water. Afterward, wipe the surface clean with a damp towel and allow it to dry completely before starting the painting process. This cost-effective cleaning method works well when adding a fresh coat of paint to an already-painted space.
  2. Remove Mold and Mildew: If you’re dealing with residual mildew or mold, especially in areas like bathrooms or basements, use a solution of three parts water to one part bleach. Skipping this step may allow untreated mildew to reappear through the new coat of paint.
  3. A Chemical Clean: For more extensive renovations, when the walls have been exposed to particles, chemicals, and various forms of soiling, a thorough cleaning is essential. In such cases, use a commercial cleaner like Trisodium Phosphate (TSP) for a deep clean. TSP effectively removes dirt, grime, scuffs, soot, and other forms of soiling, ensuring your walls are as spotless as possible. While this process may cost a bit more, it provides an optimal surface for painting.
  4. Sanding for a Smooth Finish: If you’re working with an older surface or one with chipping paint, it’s crucial to address rough or uneven spots. Use fine-grain sandpaper and a sanding block to smooth out any imperfections and then wipe away the dust with a clean rag. A smooth surface ensures better paint adhesion.
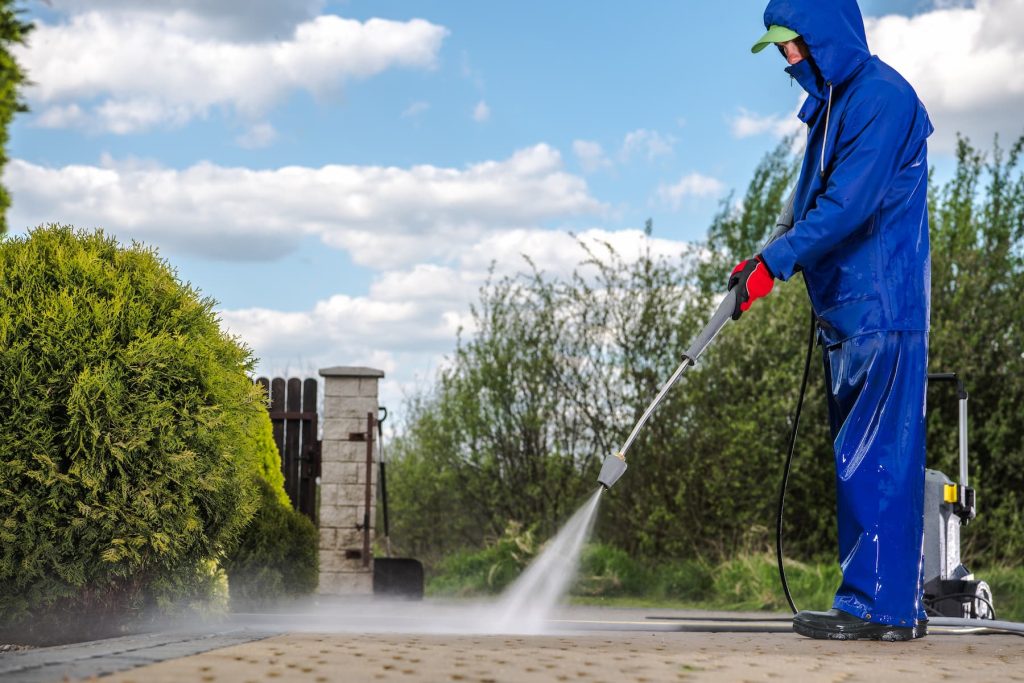
  5. Exterior Preparation: For exterior wall painting, you have two options for cleaning. The first is to employ a power washer, which is less labor-intensive. It effectively removes dirt, mildew, and grime but may miss finer details and could potentially damage siding if not used carefully. The alternative method is hand scrubbing with a TSP solution, which ensures a spotless surface but demands more time and effort.

Products for Painting Prep: Here’s a list of products, from least intensive to most intensive, to help you prepare your walls for painting:

  • Warm water and a sponge
  • Warm water and a sponge with added detergent
  • Bleach solution for mildew (3-parts water, 1-part bleach)
  • TSP or chemical cleaner
  • Power washer (for exterior siding/walls)

While cleaning your walls before painting may seem like a chore, it’s a crucial step that significantly contributes to the quality and longevity of your paint job. A well-prepped surface ensures that paint adheres correctly, reducing the likelihood of future touch-ups. So, don’t skip the cleaning phase, and enjoy the vibrant and fresh look of your newly painted walls.

If you’d prefer to bypass this whole cleaning and painting ordeal altogether, put it in the hands of a professional! Contact us today to get started.

Filed Under: News Tagged With: home tips, painter, Professional Painters

Why Power Washing a Commercial Building Before Painting is Crucial

November 15, 2023

When it comes to painting a commercial building, the importance of proper preparation cannot be overstated. One crucial step in this process is power washing the building’s exterior. Power washing is not just an optional convenience; it’s a crucial prerequisite for a successful and long-lasting paint job. In this article, we’ll delve into why power washing a commercial building before painting is absolutely crucial for achieving exceptional results and preserving your investment.

1. Removal of Surface Contaminants: Over time, commercial buildings are exposed to a range of environmental contaminants such as dirt, dust, pollutants, mold, mildew, and algae. These substances not only mar the appearance of the building but can also affect the adhesion and durability of the paint. Power washing effectively removes these contaminants, creating a clean and smooth surface for the paint to adhere to. This not only enhances the aesthetic appeal but also ensures that the paint will bond properly, resulting in a longer-lasting finish.

2. Increased Longevity of Paint: Power washing is not just about preparing the surface; it’s also about extending the life of your paint job. A clean surface allows the paint to form a tight bond with the building’s exterior, preventing premature peeling, cracking, or chipping. This means that your commercial building will not only look great after painting, but the results will also endure the test of time, saving you money on frequent repaints and touch-ups.

3. Enhanced Health and Safety: In commercial spaces, there can be instances of the buildup of hazardous substances like mold, mildew, and algae. These contaminants not only pose health risks to occupants but can also create slippery and dangerous surfaces. Power washing not only removes these health hazards but also improves the safety of the building’s exterior. Clean and well-maintained surfaces are less likely to become slippery or cause accidents, which is crucial for maintaining a safe environment for employees and visitors.

Ready to Transform Your Commercial Building? Contact Alba Painting for Expert Power Washing Services.

If you’re planning to paint your commercial building and want to ensure a flawless and long-lasting finish, don’t skip the crucial step of power washing. For professional power washing services that prepare your building’s exterior for a stunning paint job, contact Alba Painting today. Our team of experts specializes in commercial painting and power washing, ensuring that your project is executed with the highest standards of quality and professionalism. Don’t compromise on the longevity and appeal of your commercial property—reach out to Alba Painting now and experience the difference that proper preparation can make.

Contact us for power washing services

Filed Under: News Tagged With: commercial power washing, florida painter, power washing

How to Safely Do Indoor Painting

November 5, 2023

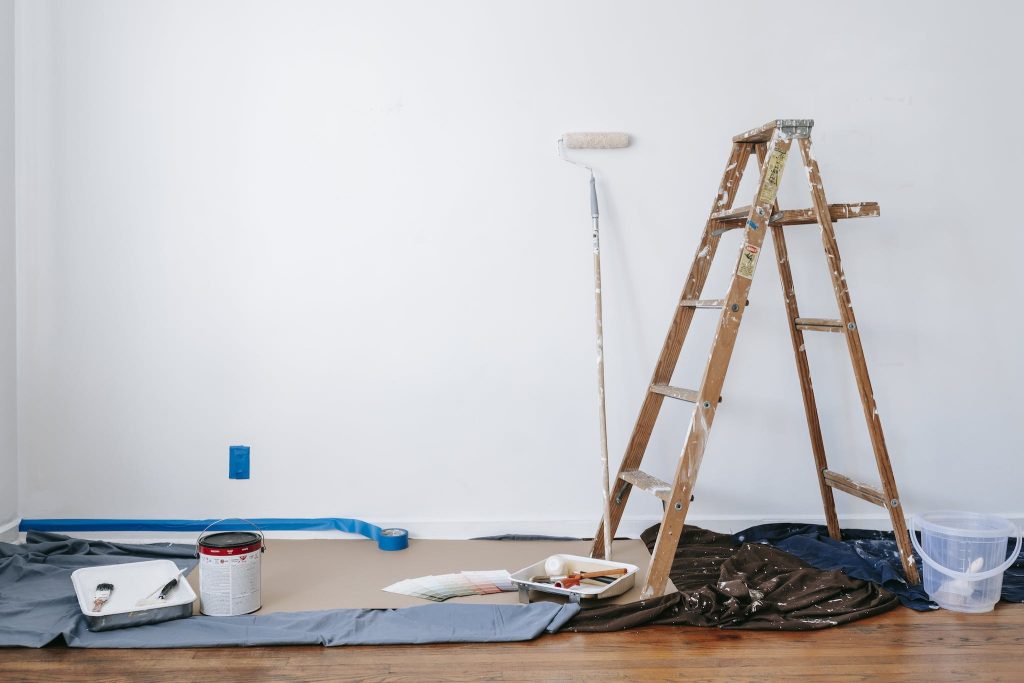
Brown Wooden Ladder Beside Painting Materials

Painting is a common household task that many of us undertake at some point in our lives. While you may readily find painting supplies in your local home improvement stores, how often do you stop to consider the safety aspects of indoor painting? Paint, even water-based varieties, can produce fumes that, if not handled carefully, pose potential health risks. In this article, we’ll shed light on the importance of taking safety precautions when engaging in indoor painting.

Indoor Painting Safety Measures: Indoor painting requires attention to a range of safety considerations. While the following list isn’t ranked, proper ventilation takes precedence in ensuring a safe painting environment. Here are essential safety tips to keep in mind for your next indoor painting project:

  1. Proper Ventilation: Proper ventilation is paramount when painting indoors. Paint contains chemicals that emit fumes that can be harmful, particularly if inhaled over an extended period. Whenever possible, open doors and windows to improve airflow. If optimal ventilation isn’t feasible, take regular breaks to reduce exposure to paint fumes. If you ever feel dizzy or light-headed, exit the room and breathe in fresh air. For items like furniture, consider painting them outdoors where ventilation is less of a concern.
  2. Enhance Air Circulation: If the room you’re painting in has a ceiling fan, turn it on to boost air circulation. In the absence of a ceiling fan, using a standalone fan set to oscillate can help maintain good airflow.
  3. Address Cold Weather Painting: When painting during colder months and you need to open windows for ventilation, use a portable heater to keep the room comfortably warm.
  4. Take Regular Breaks: Even with proper ventilation, taking breaks from painting is crucial. This practice ensures you get a dose of fresh air, reducing the potential risks associated with prolonged exposure to paint fumes.
  5. Low-VOC Paint: When ventilation is challenging or not an option, consider using low-VOC water-based paint to minimize the impact of paint fumes. Regardless of the paint choice, taking frequent breaks remains essential for reducing prolonged exposure.

Protective Equipment: Paint fumes aren’t the only concern; contact with paint can irritate the skin and eyes. It’s advisable to wear protective gloves and eye protection, such as goggles, to prevent accidental skin or eye contact. If paint does come into contact with your eyes, rinse them immediately with water. Additionally, consider wearing a protective face mask to reduce inhalation of paint fumes. These protective items help mitigate potential chemical-related injuries. After completing your paint project, ensure you dispose of these protective items correctly to prevent lingering paint residue in your home.

Consider using a respirator mask, available at most paint and home improvement stores, for prolonged paint projects. Respirator masks offer additional layers of filtration for enhanced protection, which a standard N95 mask may not provide.

Other Aspects to Consider: Painting projects, whether minor touch-ups or full room makeovers, involve other safety aspects to keep in mind. For instance, if you’re using a ladder, ensure you follow safety guidelines specified by the manufacturer, including using safe rungs.

When covering your floors with drop cloths or vinyl sheets, ensure they are stable, especially if used under a ladder, to prevent slip and fall accidents. Be cautious when walking or carrying items over floor coverings to minimize accident risks.

Cleaning Up and Wrapping Up Your Project: Once you’ve completed your painting project, safety measures still apply:

  1. Paint Disposal: Disposal regulations for hazardous chemicals vary by location, so check your local guidelines. Different paints have varying disposal restrictions, with oil-based paints having more stringent requirements than water-based options. To dispose of oil-based paints safely, use paint hardeners or cat litter to solidify the paint, making it less likely to spill in the trash. Latex paints, being water-based, have more flexible disposal options. Some charities, like Habitat for Humanity, accept used paint for donation to families in need of home updates.
  2. Brushes and Pans: Dispose of brushes and pans in accordance with the base of the paint used (oil or water) to ensure safety remains a top priority.
  3. Drying and Ventilation: Ensure the painted room has enough time to dry and air out before it’s safe to use. While you don’t need to wait for days, allow at least a few hours for proper ventilation and drying.

When undertaking an indoor painting project, it’s crucial to prioritize safety. Following these safety precautions not only safeguards your health but also ensures a successful and incident-free painting experience.

If you have questions or need help with your next painting project contact us.

Filed Under: News Tagged With: paint house, Professional Painters

  • « Go to Previous Page
  • Page 1
  • Page 2
  • Page 3
  • Page 4
  • Page 5
  • Interim pages omitted …
  • Page 12
  • Go to Next Page »

Footer

CONTACT INFORMATION

Alba Painting, LLC

Sterling Heights, MI
(586) 251-6563

OUR SERVICES

  • Interior House Painting
  • Exterior House Painting
  • Commercial Painting
  • Restoration

Connect With Us

  • facebook
  • linkedin
  • youtube

Copyright © 2025 Alba Painting, LLC · Privacy Policy · Site by OMA Comp